
Table of contents
- Shipping Profiles
- Shipping Zone and Shipping Rates
Shipping and delivery management can be a huge challenge if there are no appropriate tools/features at your disposal. Cartzy enables you to efficiently set up shipping charges for different products in different regions.
Path: Settings > Shipping & Delivery
Shipping Profiles
A shipping profile refers to a group of products on which you want to collect shipping charges when shipped to different regions.
In one shipping profile, you can add multiple zones, and collect different shipping charges in different zones/regions.
There are two types of shipping profiles that you can manage in Cartzy:
1. Default shipping profile: Only one in the system and contains all the products of your store.
2. Custom shipping profile: This can be multiple, and each can contain a different group of products.
Each shipping profile contains the following four elements:
1. Name (of the shipping profile)
2. Products (the group of products)
3. Shipping Zones
4. Shipping Rates

Default Shipping Profile
The following points can characterize the default shipping profile:
1. It is system-generated, and cannot be deleted.
2. It is the only one in the system. There can not be two default shipping profiles in the system.
3. It contains all the products of your store.
4. Multiple shipping zones can be set up to collect shipping charges for all the products when delivered to those shipping zones.
5. The name of the default shipping profile will always be “General.”
To view the settings of the default shipping profile and to add a shipping zone, click on the Manage Rates button next to it.

The Default Shipping Rates page will open, where you can manage the shipping zones and shipping rates.

Products in Default Shipping Profile
The default shipping profile contains all the products of your store.
-
You cannot add a product manually to this profile.
-
You cannot remove a product from the list.

Editable features in the default shipping profile
Only the following features are editable in the default shipping profile.
-
Shipping Zone: You can add and remove multiple shipping zones. You can also edit the already added shipping zones.
-
Shipping Rate: You can add and remove multiple shipping rates. You can also edit the already-added shipping rates.
Non-editable features in the default shipping profile
You cannot modify the following in the default shipping profile.
-
Name: The default shipping profile is saved as “General” and cannot be renamed.
-
Products: The default shipping profile lists all the products of your store. You cannot edit the product list.
Custom Shipping Profile
The default shipping profile contains the list of all the products of your store and does not allow you to apply a different shipping rate to a specific group of products. Because, whatever shipping rate you add to a shipping zone in the default shipping profile, it is applied to all the products in the list.
So, you can create a custom shipping profile where you can add the products of your choice and apply a different shipping rate to that group of products for shipment to a specific zone(s).
A custom shipping profile can be characterized by the following:
1. It can be renamed.
2. There can be multiple custom shipping profiles.
3. The product list is manageable.
4. This shipping profile can be deleted.
Creating a custom shipping profile
To create a custom shipping profile, follow these steps:
1. On the main Shipping and Delivery page, click on the link “Create custom shipping profile.”

2. On the next page, enter the name of the shipping profile as per the requirement.

3. Now, after naming your new shipping profile, you can do two of the following:
-
- Keep on adding information to configure the custom shipping profile.
- Save it.
Adding Products to custom shipping profile
To add products to your shipping profile, follow these steps:
1. Click on the Add Products option.
2. On the Add Products popup window, you can search for your desired products. To add a product, checkmark the checkbox given before the product name. You can select multiple products to add to the list.
3. Click Done, once you have selected the desired product(s).
❗Against every product, you will see the label “In General Shipping” indicating that the products are added to the General Shipping (default shipping) profile as well.

4. The selected products are listed under the Products section. Now, this is the group of products to which you can apply different shipping rates in different shipping zones. You can always add more products to the list or remove products from the list by clicking the Manage Products option given in the top right corner of the Products section.

Saving the shipping profile
It is recommended that you save a shipping profile as soon as you create it, before making any further changes. To save a shipping profile, simply click on the Save button.

Once the shipping profile is saved, the notification popup containing the success message appears on the top right corner of the page.

Also, the shipping profile is listed on the main page. To configure or modify the shipping profile, you can always click on the Manage Rates button to open it in edit mode.

Delete a Shipping Profile
To delete a shipping profile, do the following:
1. Open the shipping profile in edit mode by clicking the Manage Rates button given against it on the main page of Shipping And Delivery.
2. When the selected shipping profile page is opened in edit mode, scroll down to the bottom of the page and click the Delete Profile button.

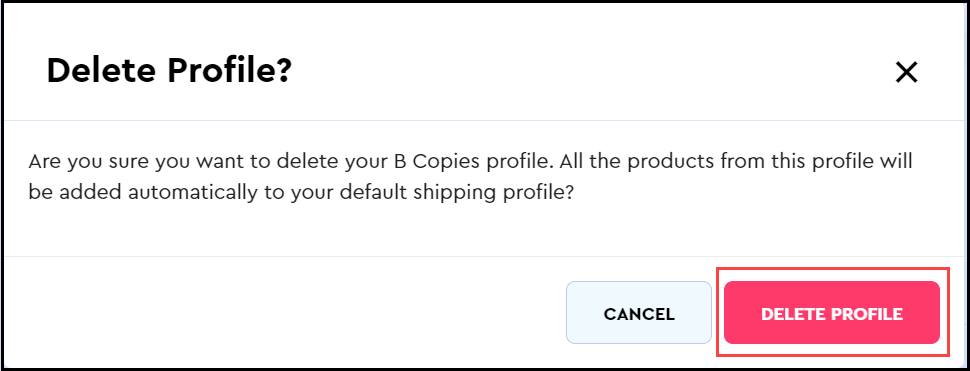
3. You will be prompted to confirm the action of deleting the shipping profile. If you click the Delete Profile button, the shipping profile will be deleted permanently and you cannot restore it. You will have to create a new one if you need the same shipping profile in the future.
4. Upon confirming the deletion action, the shipping profile record is deleted from the system as well as from the main page of Shipping and Delivery. A notification popup containing the message of successful deletion also appears at the top right corner of the page.

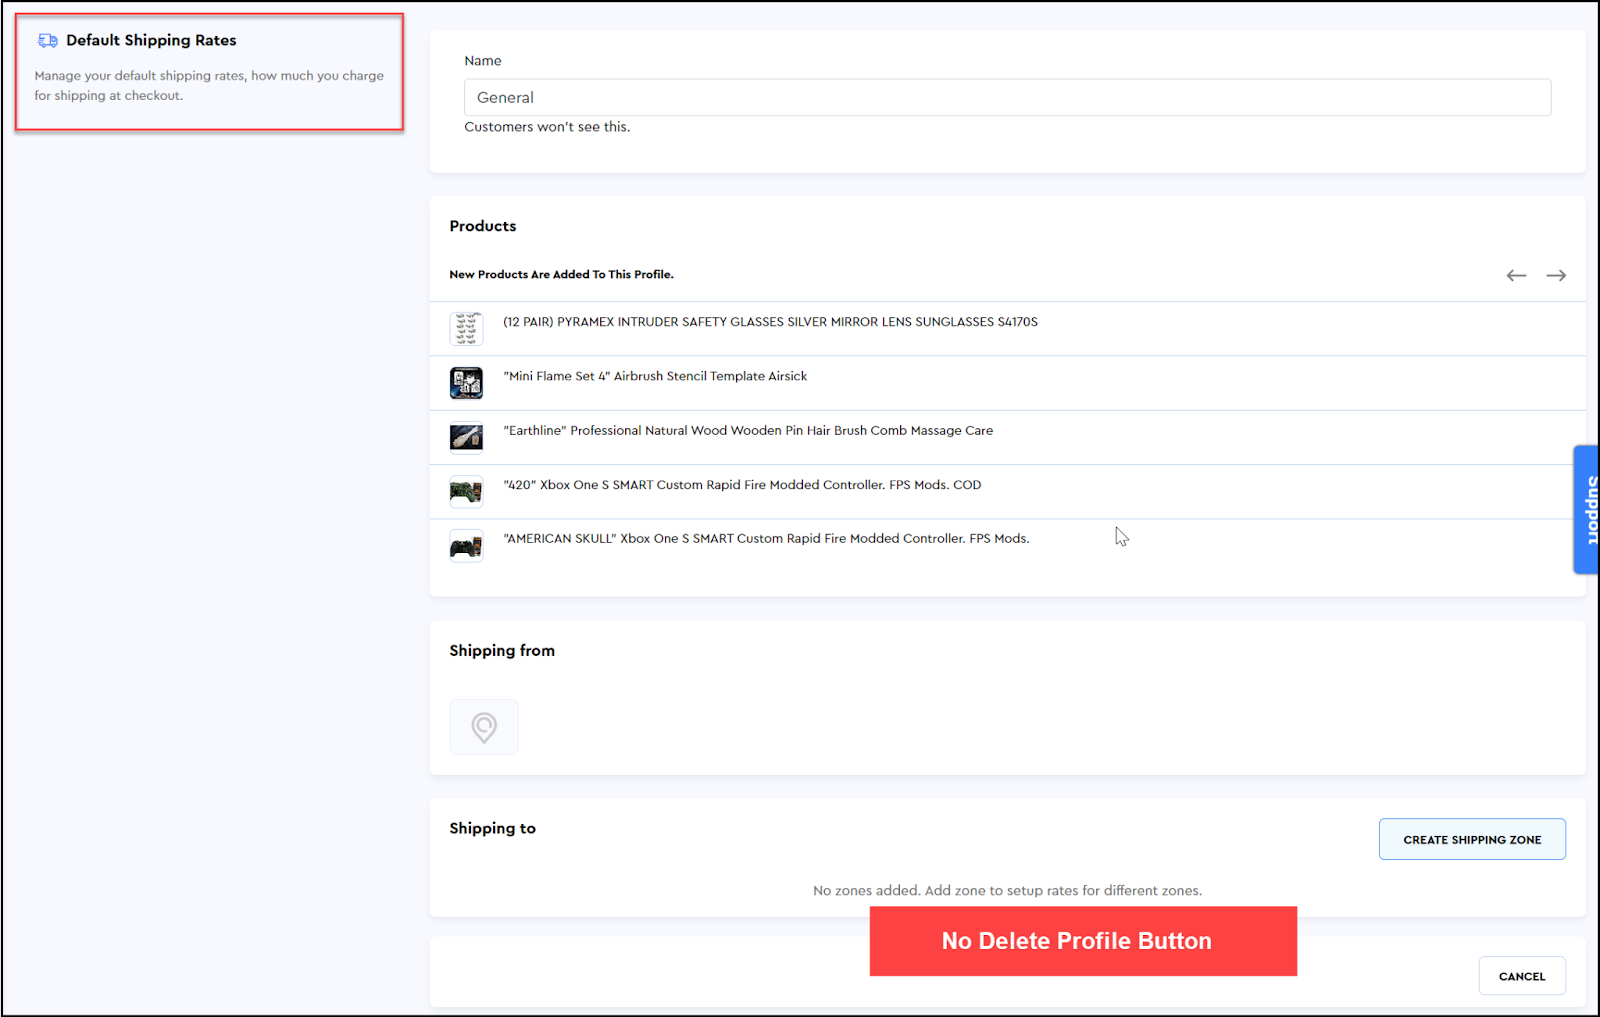
❗The Default shipping profile cannot be deleted. Therefore, this profile page will not have the “Delete Profile” button.
Shipping Zones and Shipping Rates
Shipping Zone: A shipping zone refers to the region where you want to ship the products. One shipping zone can have multiple shipping rates.
Shipping Rate: A shipping rate refers to the shipping charges that you want to collect against the shipment of a particular product in a particular region to cover the shipping costs. A shipping rate is always added against a shipping zone. If no rate is added to a shipping zone, the system will automatically consider it as “free shipping.”
Create a Shipping Zone
To define shipping rates for products, you first need to define shipping regions by adding a shipping zone. To do so, follow the steps shared below.
1. In the Shipping To section, click the Create Shipping Zone button.
2. On the Create Zone popup window, do the following:
a. Zone Name: Enter the name of the shipping zone according to your requirements. For example, if you are setting up a shipping zone for the cities/regions of India, and applying the same shipment charges to all the areas of India, you can name the shipping zone as India.
b. Using the search bar, you can select the cities and states to define your shipping zone.
c. Click Done to create the shipping zone.

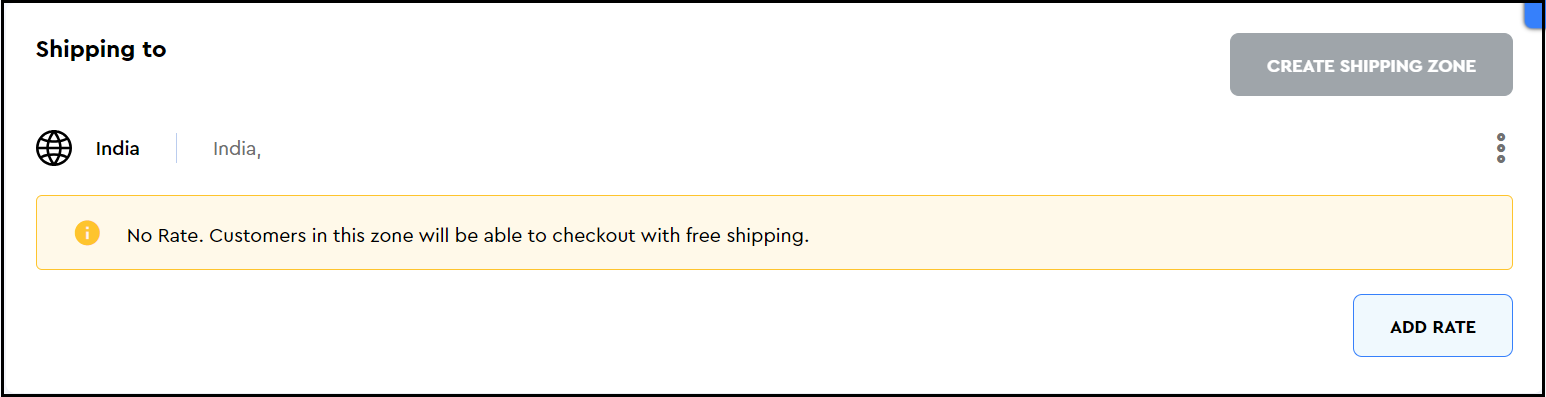
3. As soon as you click Done, the shipping zone is created and listed under the Shipping To section. A shipping zone is represented by its name and the world globe icon.
Considering the example above, our shipping zone is created and listed with the name “India” as demonstrated in the image below.
Now, using the Add Rate button, you can add a shipping rate that will be associated with this shipping zone.
Adding a shipping rate
Using the Add Rate button, you can define a shipping rate to cover the shipment cost of the selected products that will be delivered to the regions selected in the shipping zone. Following are the steps that you need to follow:
1. After adding a shipping zone, click the Add Rate button against it.

2. On the Add Rate popup window, enter the following information:
a. Rate Name: Give a proper name to the shipping rate to identify it.
b. Primary Rate: Enter the amount that you want to charge. The currency symbol will always appear as $. The currency configuration in the General Settings page will have no effect on it.
c. Add Condition: This is optional. If you want to charge for an additional quantity of the product, you can configure the charges per additional quantity.
❗When you are adding the first shipping rate, it will be automatically checked for the “Mark as Default” option.
3. Click Done on the Add Rate popup window when you are finished setting up the shipping rate. The newly defined shipping rate will be added under the Shipping Zone.

Setting a default shipping rate
When you add multiple shipping rates to a shipping zone, you have the option to choose a default shipping rate. The default shipping rate is the one that will be added as a shipping cost automatically with the product when the customer from the selected shipping zone places an order for the selected product.
To set a default shipping rate, do the following:
1. Click on the kebab menu icon against the shipping rate, and select Mark as Default from the dropdown menu.
2. On the Mark as Default popup window, click the Confirm button.

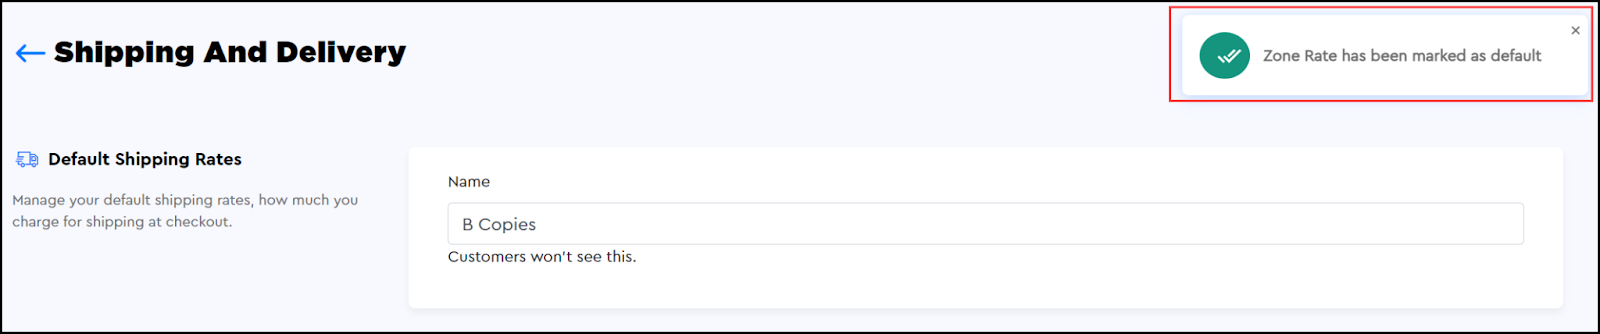
3. The Default icon will be checked against the shipping rate that you set as default. Also, a notification popup containing the success message will appear at the top right corner of the page as demonstrated in the image below.
Multiple Shipping Zones and Shipping Rates
You can add multiple shipping zones and multiple shipping rates only to a saved shipping profile.
Explanation:
You must notice that if you are creating the shipping zone in the “Create” mode of the shipping profile. I.e., you have not saved the shipping profile yet, then after adding one shipping zone, the “Create Shipping Zone” button has been disabled. Similarly, after adding one shipping rate, the button “Add Rate” will also be disabled, if you are making these changes in the “Create” mode of the shipping profile.
To enable these buttons, and to add multiple shipping zones and shipping rates, you must save the shipping profile first as explained earlier in this article.
Disabled for shipping profile creation
The image shared below demonstrates that the “Create Shipping Zone” and the “Add Rate” buttons are disabled after adding one shipping zone and one shipping rate.
Reason: The shipping profile is not saved i.e., you are creating the shipping profile and have not hit the Save button yet.

Enabled for saved shipping profile
The image shared below demonstrates that the “Create Shipping Zone” and the “Add Rate” buttons are enabled even after adding one shipping zone and multiple shipping rates.
Reason: The shipping profile is saved i.e., you are configuring an already saved shipping profile.

Editing a shipping zone
❗👉 Please note that if you have not saved the shipping profile first, and you are trying to edit the shipping zone, then the added shipping rates will be deleted.
Therefore, you must first always save the shipping profile right after creating it.
To edit a shipping zone, follow these steps:
1. Click on the kebab menu icon given against the shipping zone, and select the Edit option from the dropdown menu.
2. On the Create Zone popup window, make your desired changes, and click the Done button. You can change the name of the zone as well as select a different shipping area.
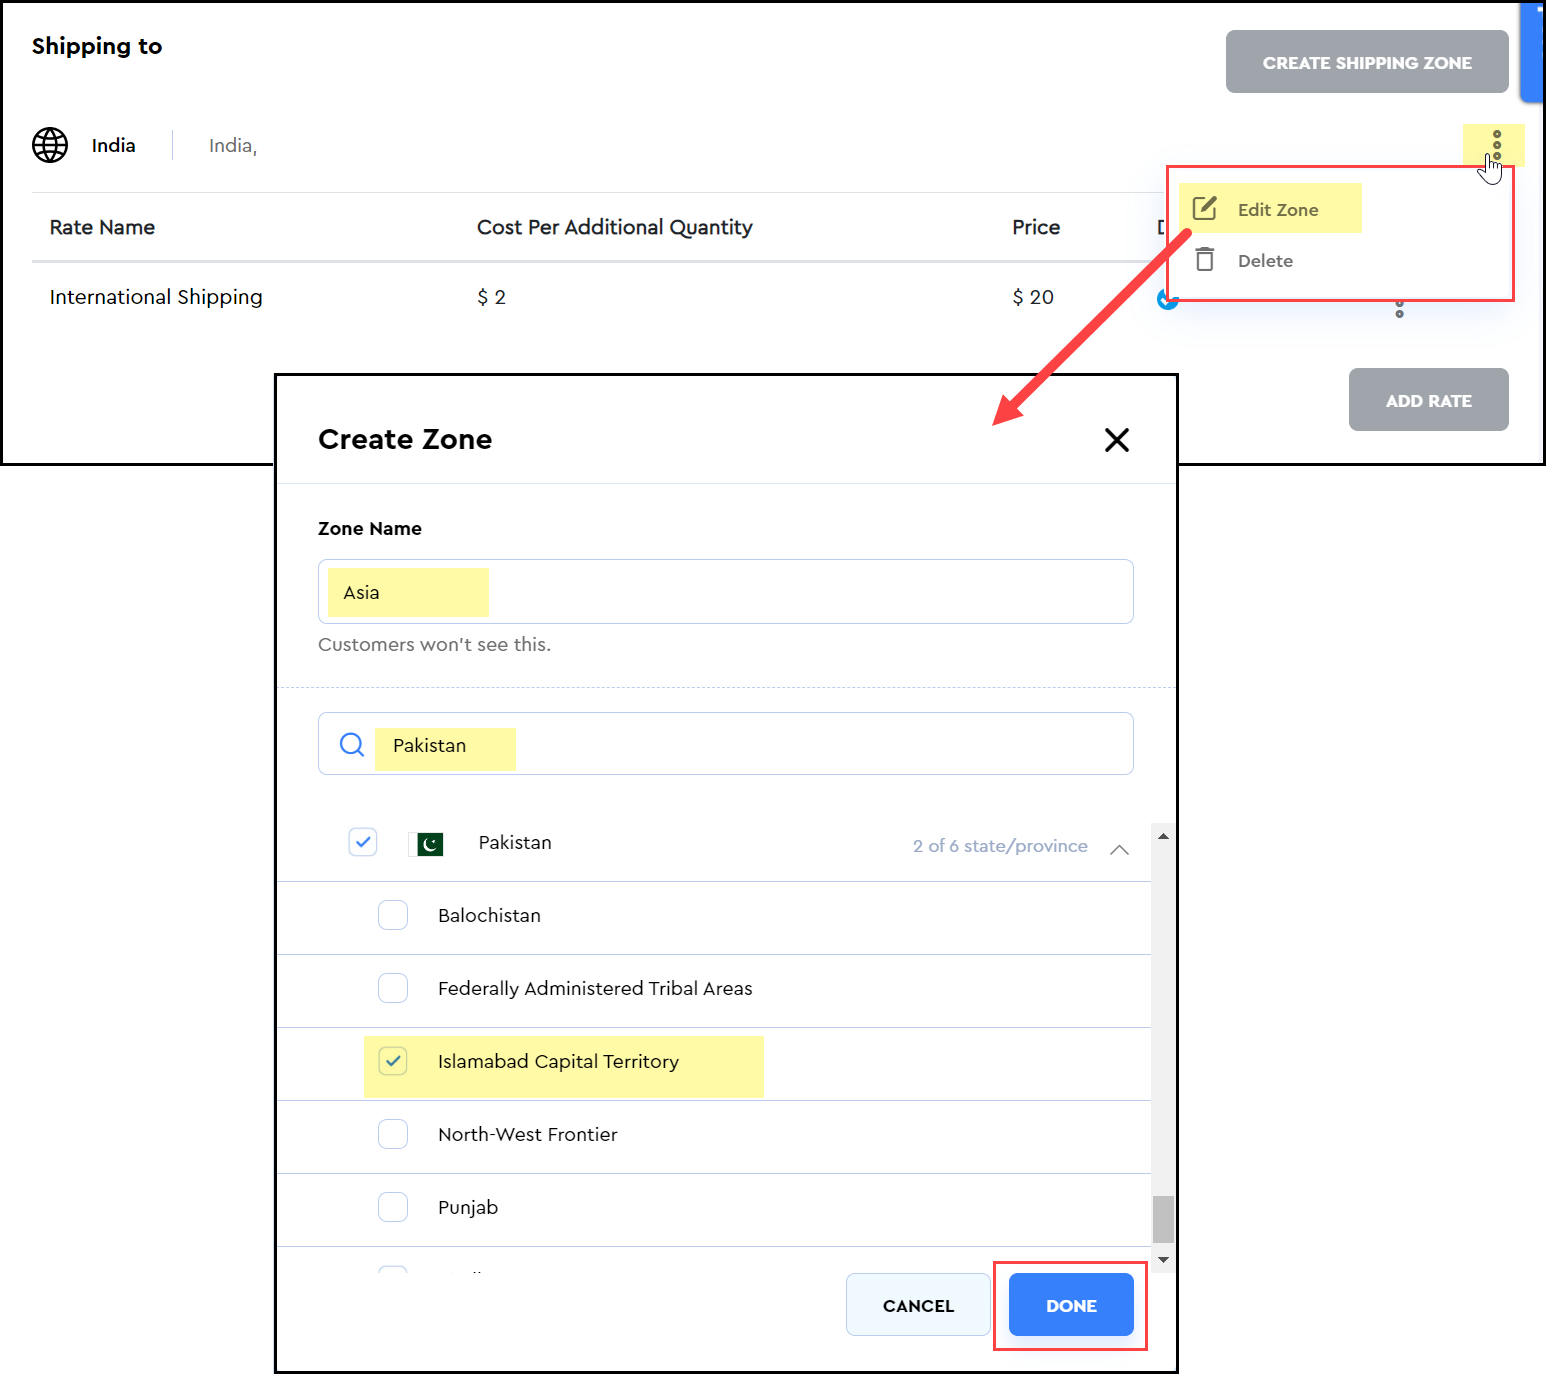
3. Upon clicking the Done button, the shipping zone change will be saved.

Delete a Shipping Zone
To delete a shipping zone, click on the kebab menu icon given against the shipping zone, and select the Delete option from the dropdown menu.
❗The shipping zone and the shipping rates associated with it will be deleted immediately without prompting you for confirmation.
The page will be refreshed and a notification popup containing the deletion success message will appear at the top right corner of the page.
