Table of contents
- Accessing customers in the admin panel
- Records per page
- Search for a customer
- Sorting customers list
- Exporting customers' records
- Editing a customer
- Deleting a customer
- Adding a new customer
Cartzy has a dedicated module for customer management where you can perform various actions on the customer records without a hitch. Adding a new customer, sorting the customers' list, finding a specific record, editing customer details, and deleting a customer, all of these features can be accessed through the Customers page in Cartzy.
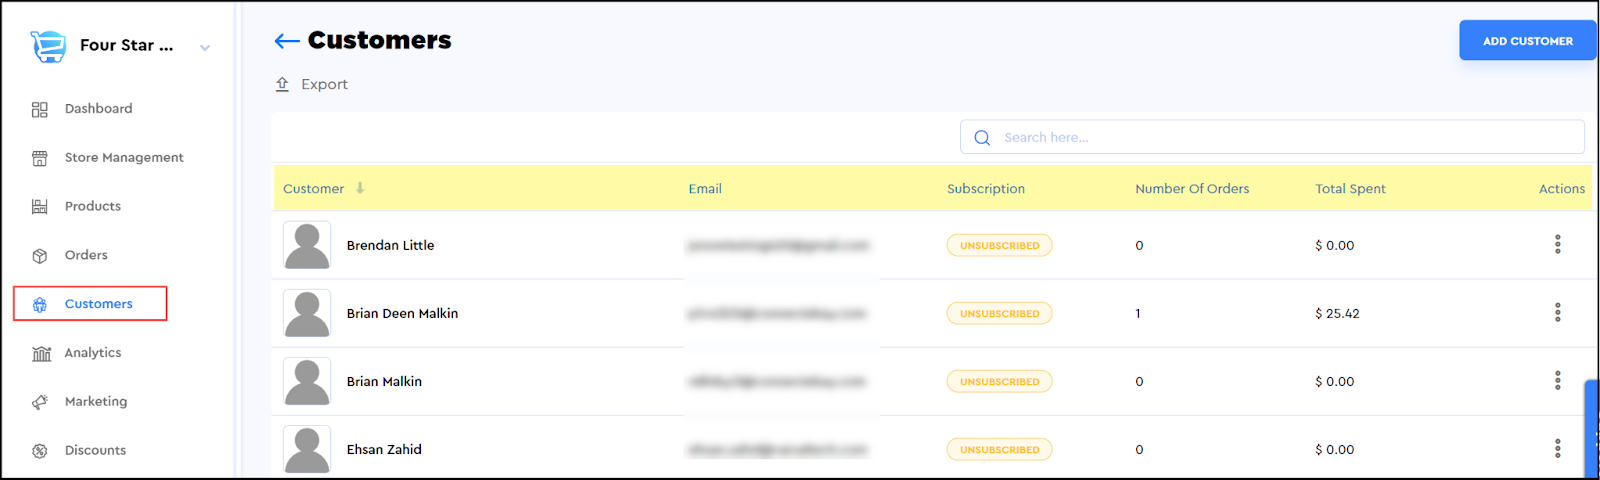
Accessing customers in the admin panel
Path: Left side menu > Customers
On the Customers page, you can view the list of all customers that are added to your store. The customer records are listed with the following information:
- Customer: It is the complete name of the customer as provided at the time of signing up.
- Email: It is the email ID of the customer with which the customer signed up on your store.
- Subscription: It reflects the status of the customer for the marketing email subscription.
- Number of orders: It shows the total number of orders the customer has placed so far on your store.
- Total spent: It displays the total amount spent against the total number of orders that the customer placed on your store.
Besides, getting a birds-eye view of the customers' records, you can also perform some functions for customer management by using the features available on this page, such as:
- Search for a customer
- Sorting the customers' list
- Export customers’ details
- Edit customer details
- Delete a customer
Records per page
If you scroll to the bottom of the Customers page, you can control how many records you want to view on one page when managing customers through the admin panel. You can use the dropdown selection list to configure the number of registered users you want to view at a time. By default, this value is set to 25.

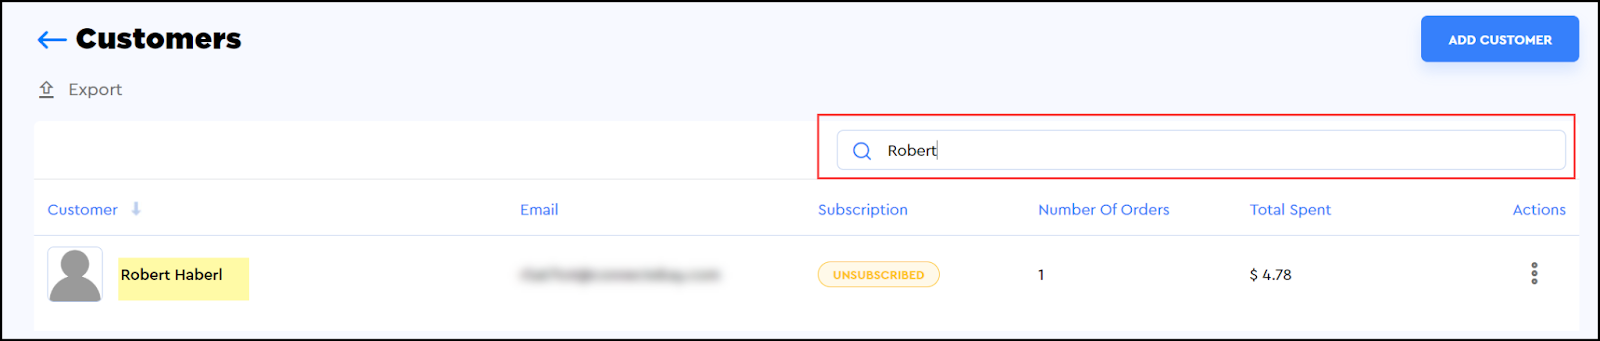
Search for a customer
The Cartzy search bar is backed by the “search by keyword” implementation. You can simply type a keyword to search for the particular customer record. All the matching records will be sorted and displayed as demonstrated with an example in the image shared below.
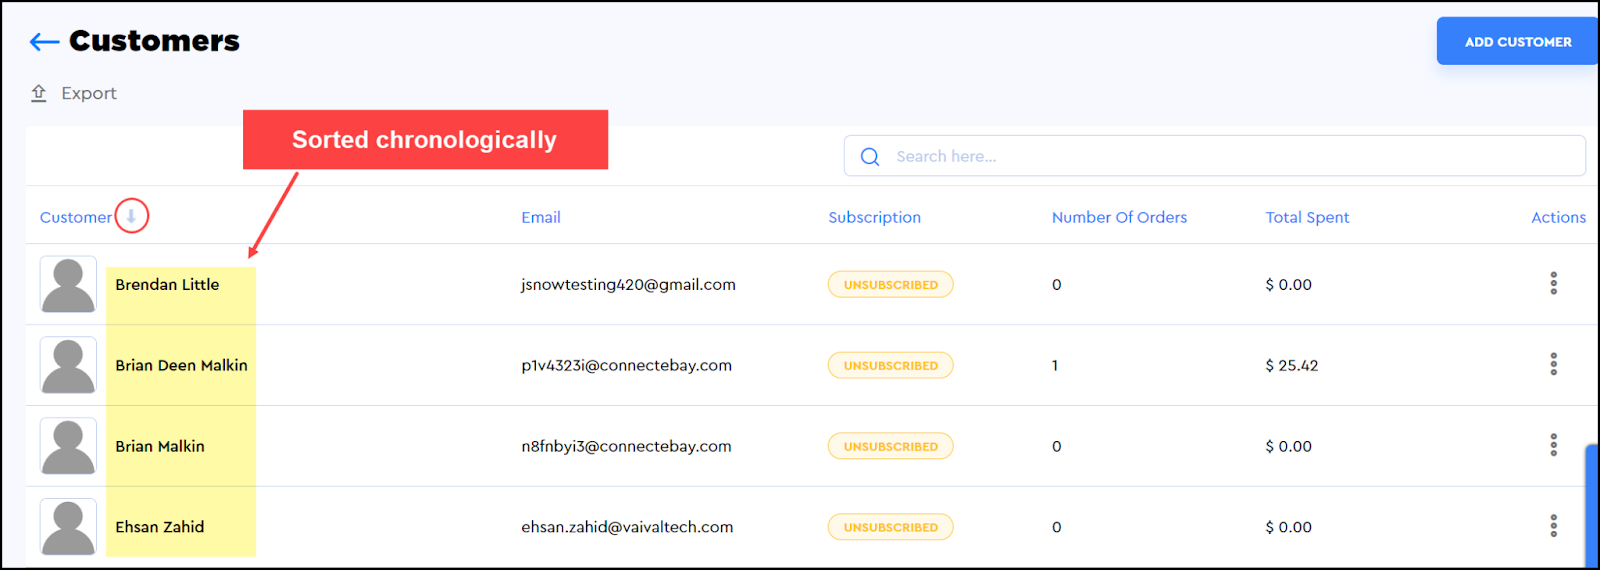
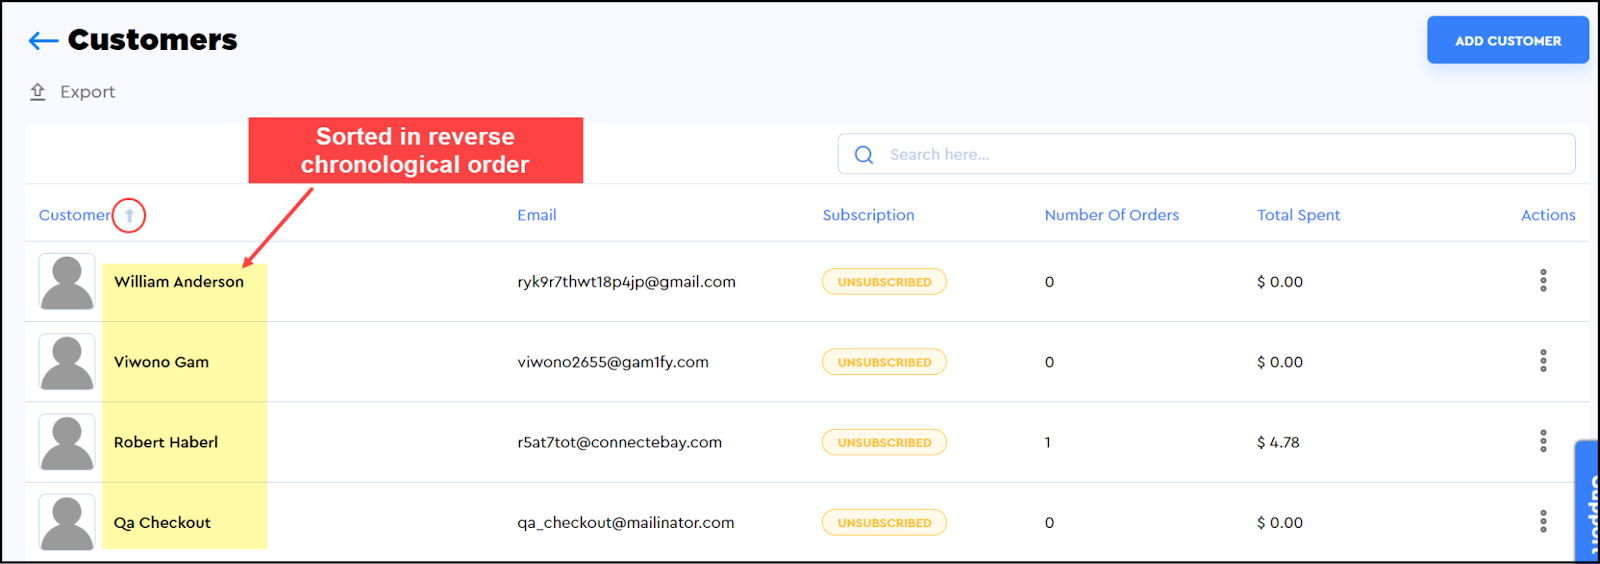
Sorting customers list
You can sort the customer records alphabetically and vice versa by clicking on the arrow given at the top of the customer name column. It will sort the records by customer name in alphabetic order or reverse alphabetical order. By default, the records are sorted alphabetically, so when you first click the arrow, the records will be sorted in reverse alphabetic order.
Exporting customers records
You can also export your products in a CSV file. To do so:
1. You need to click on the Export option given at the top left corner of the page. You will be prompted to select the records that you want to export.
2. On the Export Customers popup window, you can select between the following two options:
i. Current page: It will export the records that are displayed on the current view/page. For example, if the page currently displays only 10 customer records, then only those records will be exported to the downloaded CSV file.
Also, if you search for a particular customer by a keyword, and the page displays only two records in the result, then the exported CSV file will contain the details of only those two customers’ records that appeared in response to your search.
ii. All customers: Selecting this option will export the details of all the registered customers that are added to your store irrespective of the current page view.
3. Click the Export Customers button. A CSV file, containing the customers’ details, will be downloaded on your computer.


Editing a customer
To edit a record, you can either click on the customer name, or you can click the kebab menu and select the Edit Customer option. You will be navigated to the Edit Customer page which is the same as that which opens for creating a customer but pre-populated with customer details to which you can make modifications.

Editable features
Following are the editable elements that you can update in a customer record when needed.
1. Customer Notes: You can add detailed notes against a customer for future reference.
2. Customer Overview: Update customer name and contact information.
3. Posting comments: You can post comments under the Timeline.
4. Manage address: You can update the customer’s default address or add an additional address. Learn more about it.
5. Tax settings: You can enable/disable tax collection for a customer. Learn more about it.
6. Email marketing status: You can enable/disable email subscriptions for a customer. Learn more about it.
7. Tags: You can add different tags to a customer record as per your needs of updating/tracking records.

After making the desired changes to the customer record, click the Update button. Otherwise, you will lose edits that you made to the record.
Upon saving the edits, a success message will appear in a popup notifying you that the changes have been saved successfully.

Deleting a customer
There are two ways to delete a customer record from the system.
1. Deleting from the main page
2. Delete on the edit page
Deleting from the main page
a. Click on the kebab menu icon > Delete customer.
b. On the deletion confirmation popup window, click the Delete button to confirm your action.

Delete on the edit page
a. On the Edit Customer page, click on the Delete button given at the top of the page.
b. A confirmation popup will appear, click on the Delete button to confirm your action.

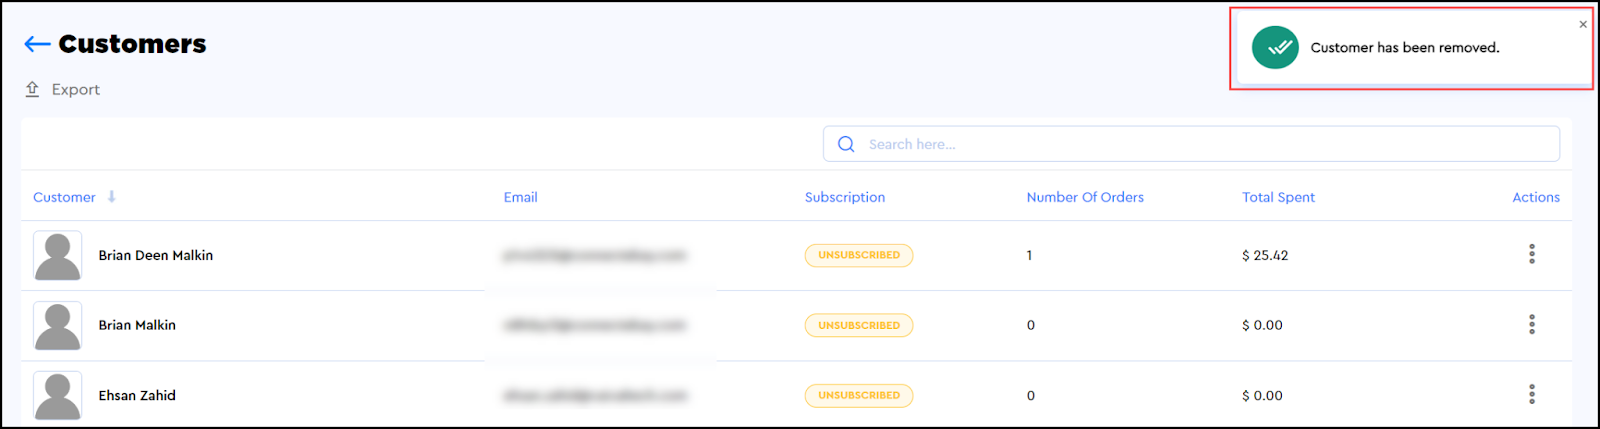
Deletion success
As soon as you confirm the action of deletion by clicking the Delete button on the deletion confirmation popup window, the following will occur:
- The customer record will be deleted from the store.
- A success notification will appear in a pop.
- The page will be refreshed to display the updated list of customers.
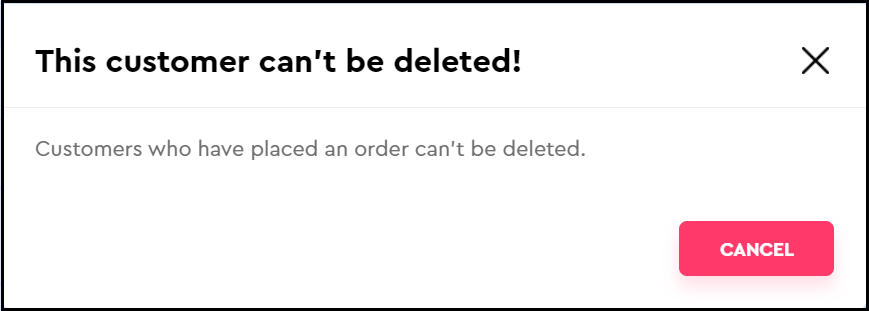
Exception
You will get the following exception if you attempt to delete a customer who has placed an order on your store.
“This customer can't be deleted
Customers who have placed an order can’t be deleted.”
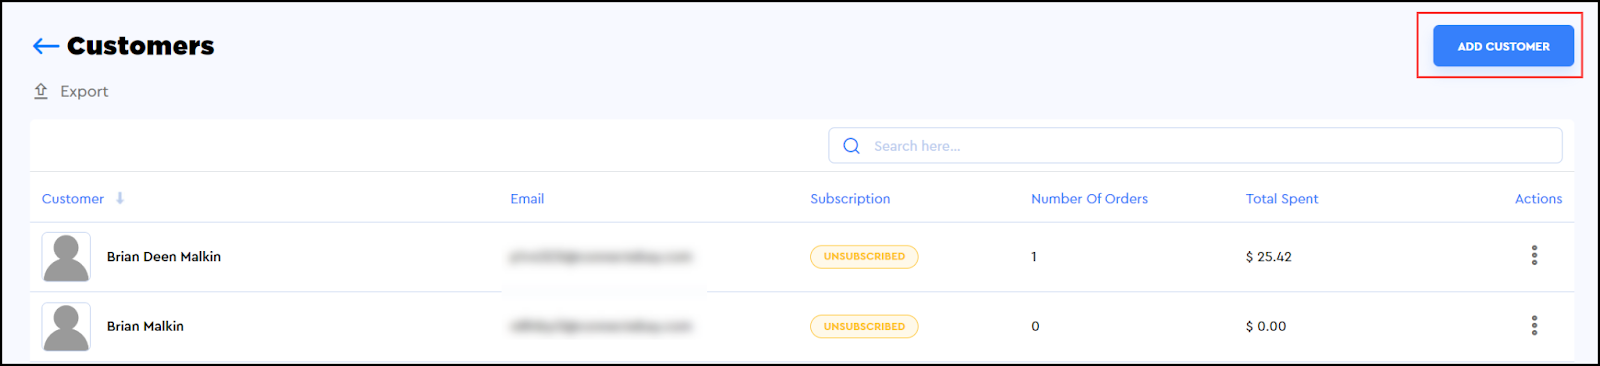
Adding a new customer
In a product drop shipping business, adding a customer manually to the system is a rare case. Usually, the customers register themselves when placing orders. However, if you need to add a customer manually, click on the Add Customer button on the main Customers page to begin the customer registration process. Learn more about adding a new customer.